How to Install a Door Closer: Step-by-Step Tutorial
13 June 2026Installing a door closer correctly ensures smooth, controlled door movement and can improve safety and energy efficiency. Follow this step-by-step guide to install a door closer professionally and efficiently.
Tools and Materials Required:
- Door closer kit (arm, mounting bracket, screws, and body)
- Screwdriver or drill
- Measuring tape
- Pencil
- Level
- Safety goggles
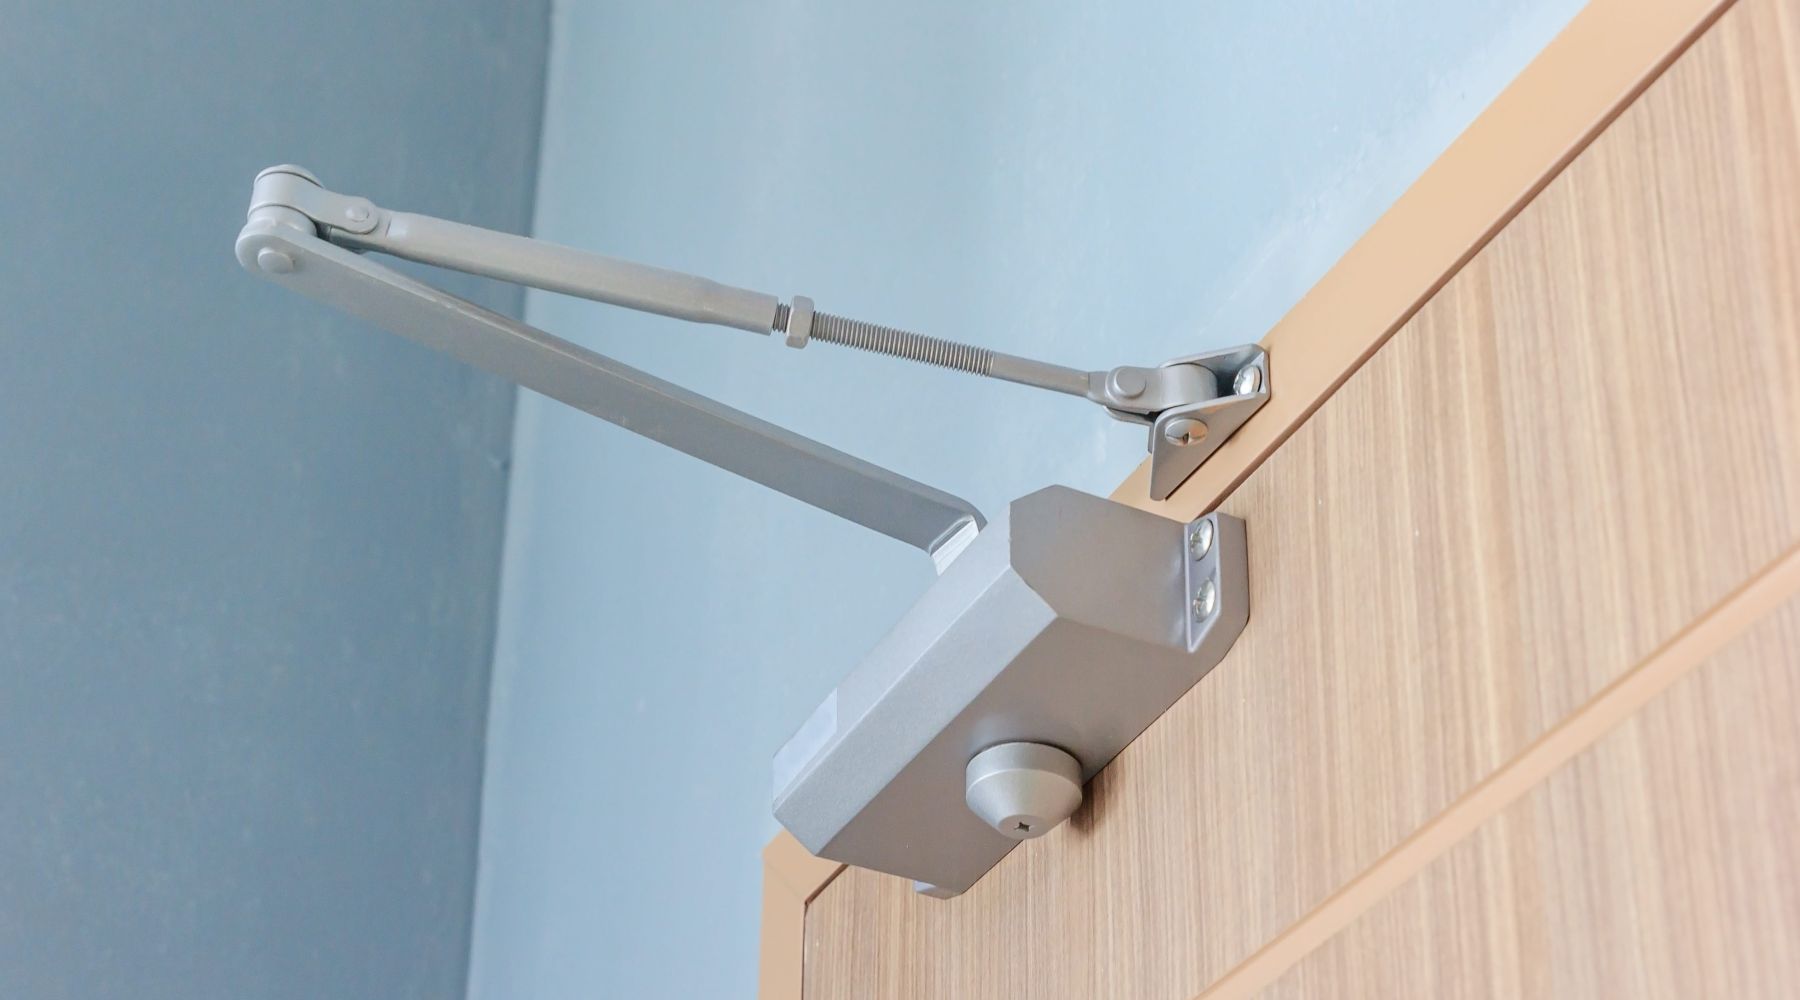
chrome overhead door closer
Step 1: Choose the Installation Type
Door closers can be mounted in several configurations:
- Regular Arm Mount (Pull Side): Mounted on the pull side of the door.
- Top Jamb Mount: Mounted on the doorframe above the door.
- Parallel Arm Mount (Push Side): Mounted on the push side of the door.
Refer to the manufacturer’s instructions to determine the best mounting option for your situation.
Step 2: Mark the Mounting Points
- Use the provided template or measure according to the manufacturer’s guidelines.
- Mark the screw holes on the door and frame using a pencil.
- Double-check the alignment with a level to ensure a straight installation.
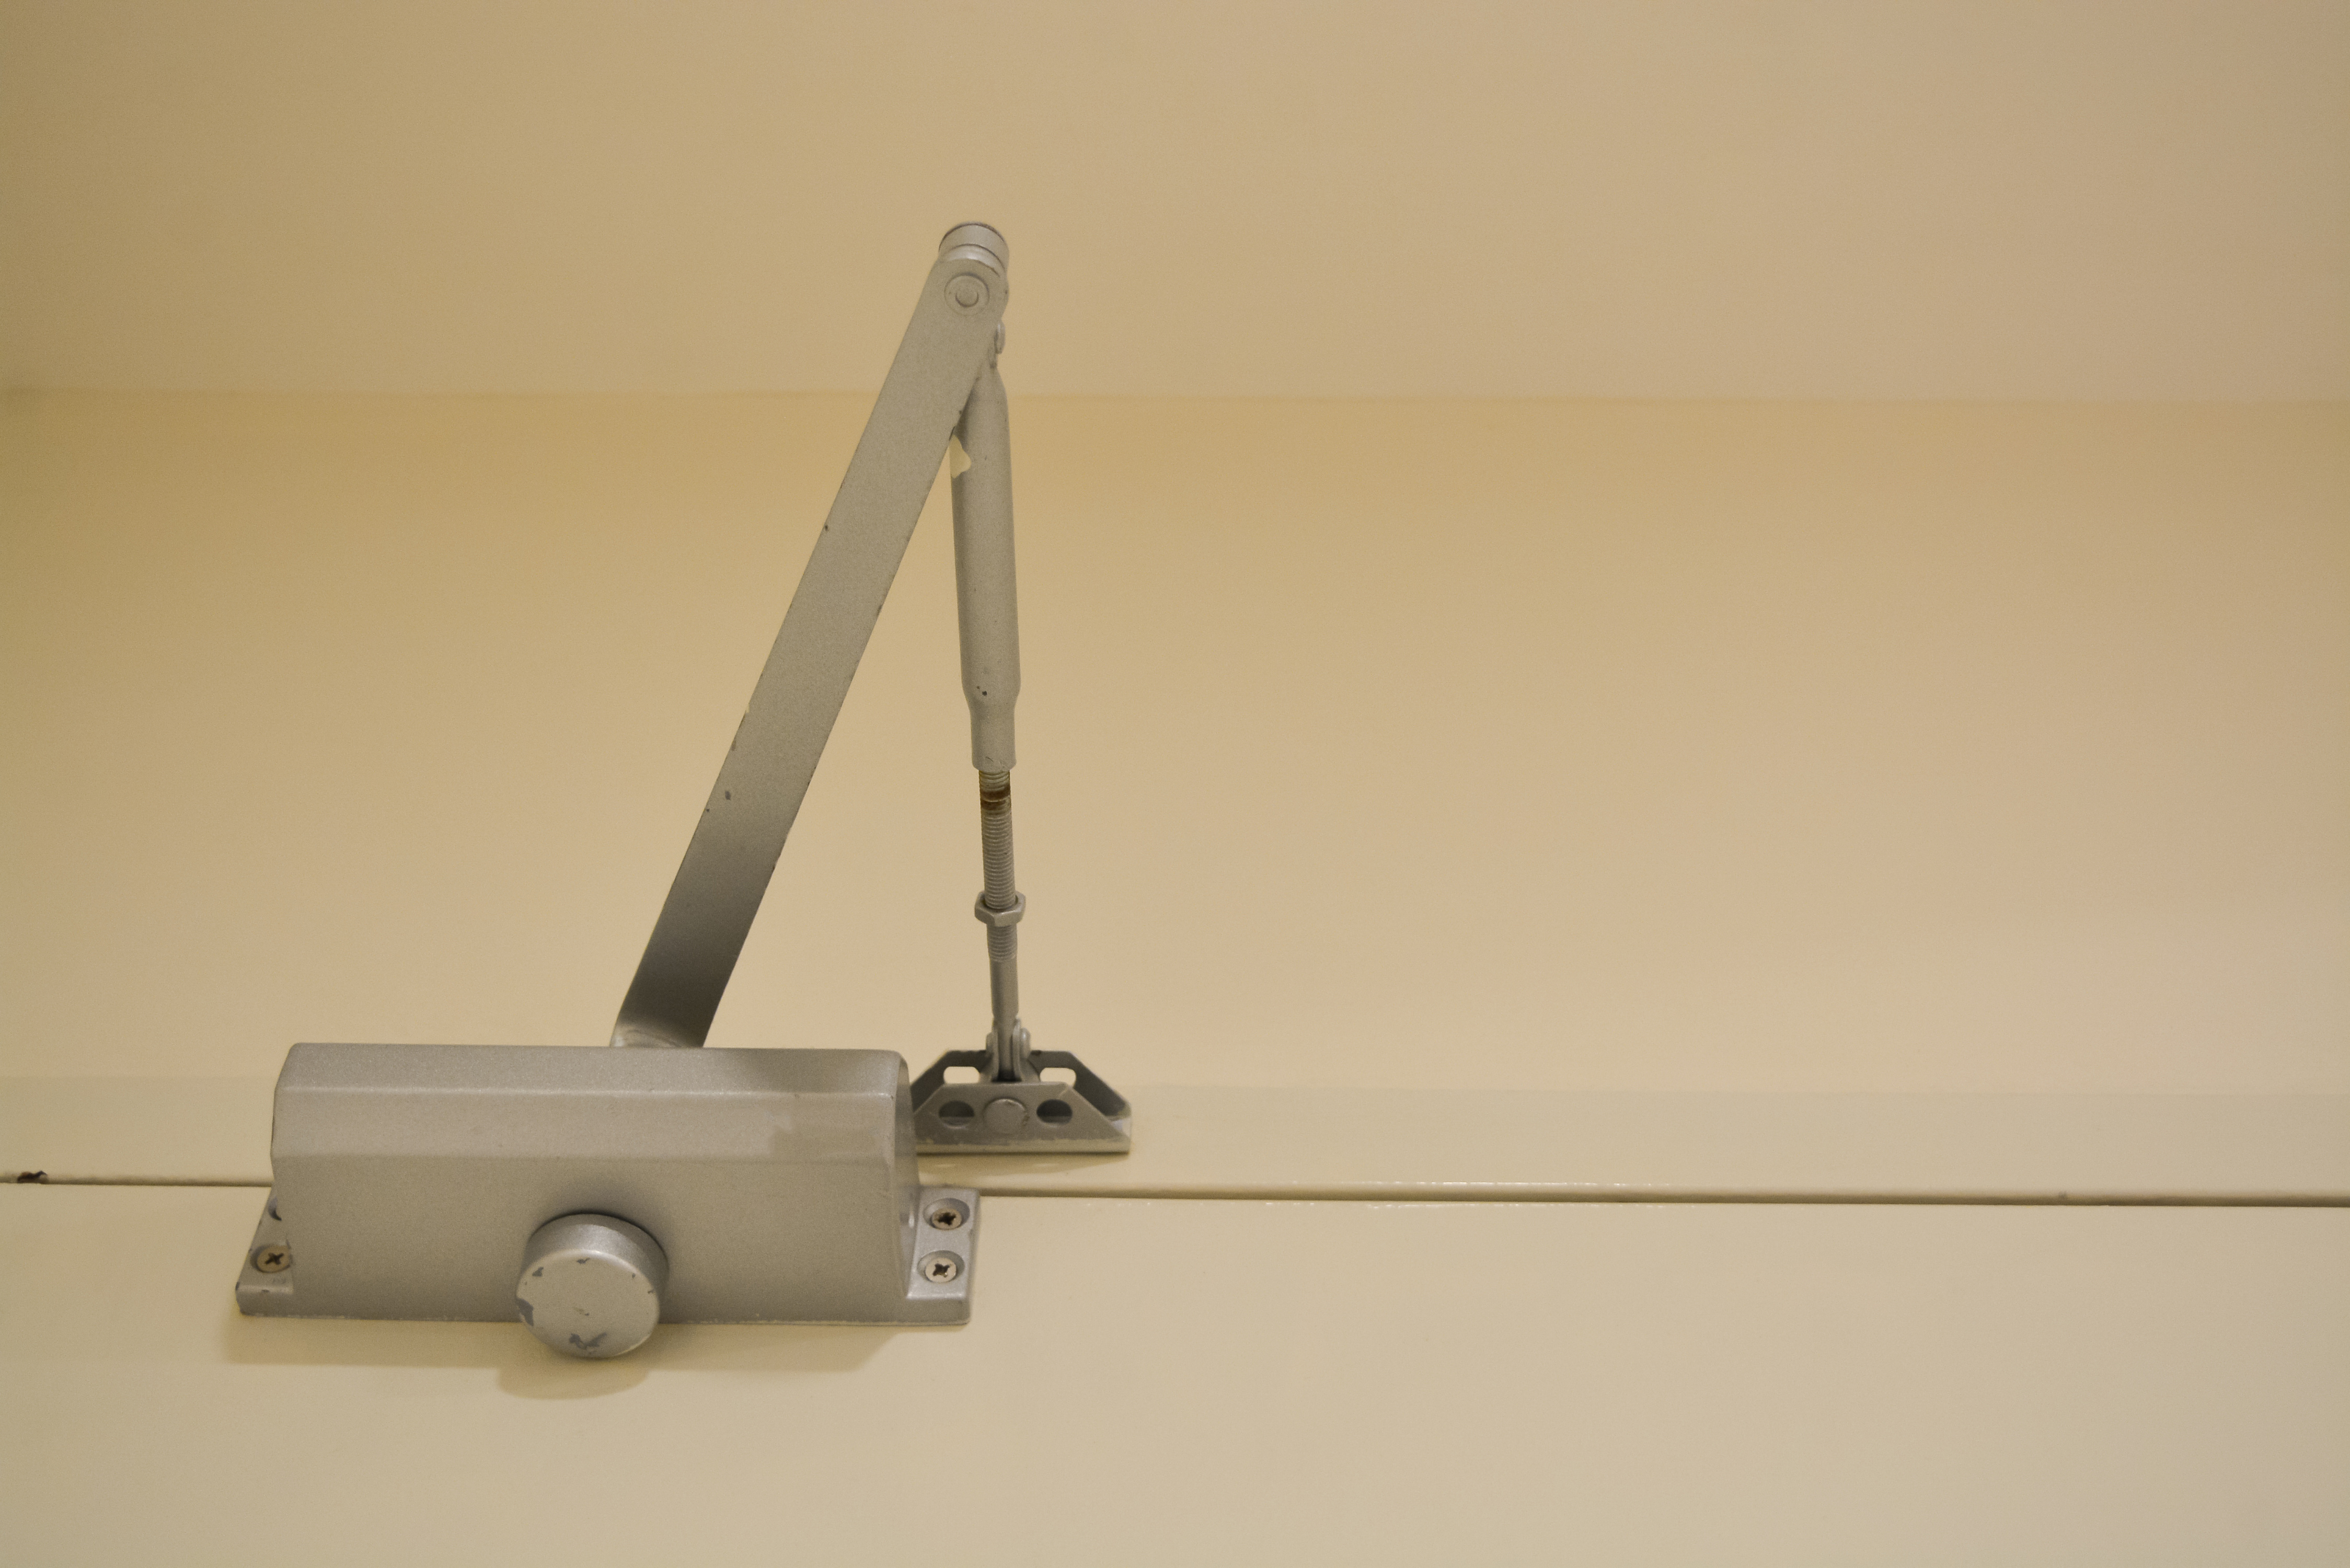
Step 3: Install the Door Closer Body
- Position the door closer body on the marked points.
- Secure it with the screws provided, tightening them firmly.
Pro Tip: Ensure the closer body is level to avoid uneven door movement.
Step 4: Attach the Arm
- Connect the arm to the door closer body.
- Depending on the mounting type, attach the other end of the arm to the frame or door.
- Adjust the arm angle as recommended by the manufacturer.
Step 5: Test the Door Movement
- Open and close the door several times to check the operation.
- Ensure the door closes smoothly without slamming or bouncing.
Troubleshooting:
- Door slams shut: Adjust the closing speed valve to slow down the door.
- Door doesn’t close fully: Adjust the latch speed valve.
Step 6: Fine-Tune the Settings
- Use the adjustment valves to set the closing and latching speeds
- Closing Speed: Controls how fast the door closes from fully open to about 10 degrees.
- Latching Speed: Controls the speed from 10 degrees to fully closed.
- Make small adjustments and test after each change.
Step 7: Secure the Arm and Cover
- Tighten all screws and bolts.
- Attach the cover, if included, for a clean, professional finish.
Maintenance Tips
- Regularly check and tighten screws to ensure stability.
- Lubricate moving parts as recommended by the manufacturer.
- Clean the door closer to prevent dust buildup.
Safety Notes:
- Always wear safety goggles when drilling.
- Follow the manufacturer’s weight and size recommendations to avoid damage.
By following this guide, you can install a door closer that ensures smooth door operation and enhances safety. If you encounter any issues, consult the manufacturer’s manual or contact a professional installer. See our full range, from concealed door closers to overhead door closers and more.